I live in the Foothills of North Carolina. In the Winter we tend to get very limited snow that may remain in shaded areas for only a couple of weeks. This year we experienced the largest snowfall in the last fifteen years that I have lived here and it was fourteen inches deep in my region. I have always wanted to make an igloo because it is such an iconic snow shelter and this recent heavier snowfall seemed to present the opportunity that I was waiting for.
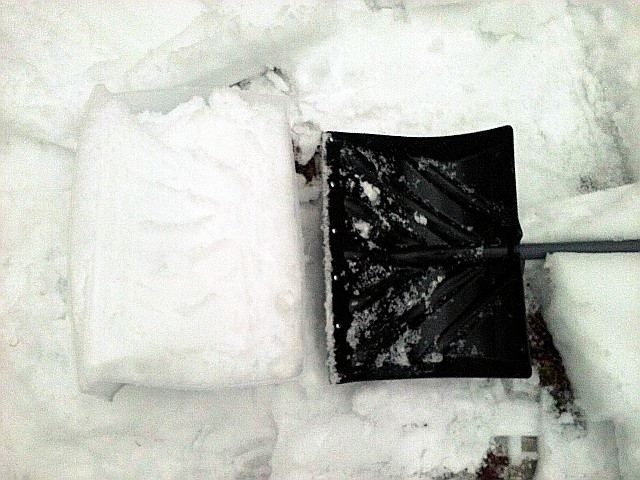
Traditional igloos require a special kind of snow that is dense and wet enough to stick together that makes strong blocks with which to build. Our snow was “fluffy” but I used a clear plastic drawer as a form that was just large enough to accept my loaded snow shovel. I would fill the form half way and tamp it with my foot, then added more and tamped more until it was full. I could then roll the form over and release a snow block for building.
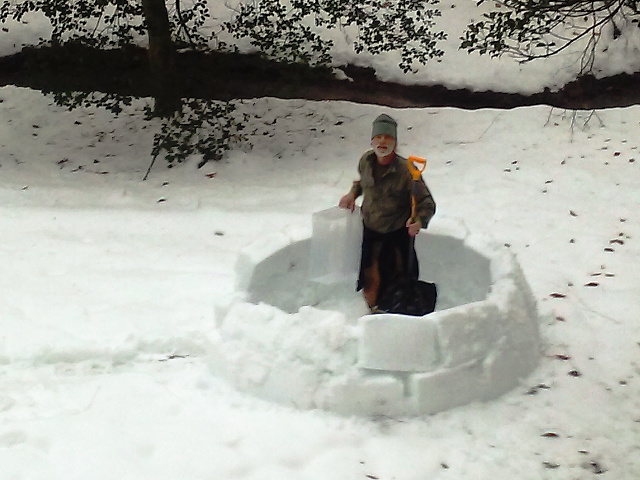
I wanted to sleep over night in the finished igloo so I scribed a circle on the ground with a greater diameter than I am tall. I began to lay the snow blocks around the perimeter of the circle to establish a foundation. I added a second row and began to start a third but the blocks had to be supported.
That triggered my memory of previous research that traditional igloos lay blocks on a continual upward spiral so I changed my approach and started the one-block height incline on the third level. The weather was turning warmer and would sprinkle intermittently so I contacted my oldest son to help expedite the project. As it turned out having two people was very strategic as my son would deliver the snow blocks through the small entry and the wall began to rise.
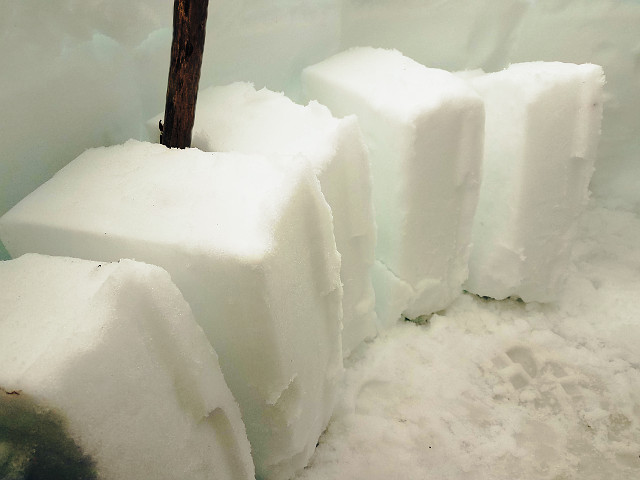
Inside the igloo I would stand the snow blocks on end like a quarry as quarters were tight and gave easy access to the materials for uninterrupted construction.
I used a pruning saw to trim the snow blocks and the surface upon which they would be laid. the blocks became smaller and more key-stoned as I continued. What amazed me is that when the edges were trimmed to match the next block and they were shoved into place they melded together and held in place without additional support!
Because of the intermittent drizzle I placed a tripod pole inside the igloo that held up a large clear plastic tarp so that I could continue the construction. At the end It had to be removed to add the final blocks on the top. Once it was finished I covered the igloo with the tarp and returned that evening to prepare for the nights lodging.
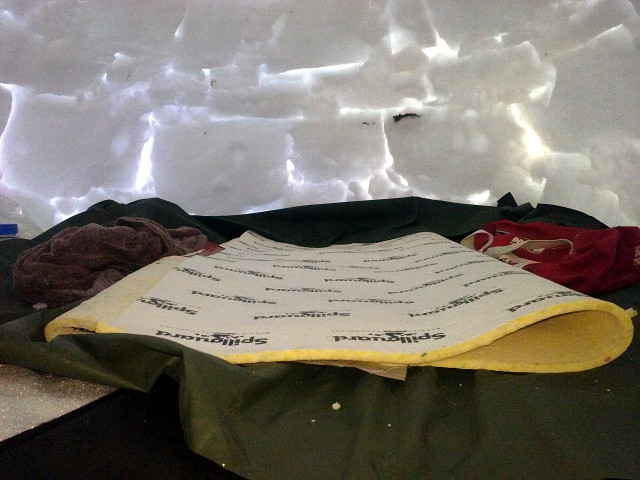
I had made snow shelters before (see Snow Tunnel and Quinzee) so I was acquainted with how to prepare for sleeping in the snow. The key is to stay dry and insulated. I had to clear the snow debris on the floor from it’s construction then spread out a tarp. On top of that I placed a carpet pad for insulation upon which to sleep. I wore surplus Polar Fleece coveralls with a matching jacket and slept inside a down sleeping bag. I had no problems keeping warm. It is wise to include a large lid container for answering Nature’s call in the night to avoid having to exit the snow shelter.
The ground was hard despite the padding and reminded me why I like hammocks for camping. I kept the tarp on that night as the intermittent rain continued so I had no worry of the shelter melting and any possible leaks by rain. It lasted one week as the weather warmed but I was exhilarated to have accomplished a life’s bucket list item. I had to “make-do” with the type of snow and weather conditions that existed but I still had the thrill of a lifetime.