x
Search for:
Survivaltek
Main menu
Skip to content
Home
Ebook
Site Map
About
Featured In Wilkes Journal Patriot
Mountain Television Network Interview
Webcasts
WXII-12 With Austin Caviness
WXII-12 With Michelle Kennedy
WXII-12 With Stephanie Berzinski
Comments
Contact
Videos
Fire
Fire – Electrical
Fire – Friction
Fire – Percussion
Shelter
Water
DIY
Weather
Navigation
Signals
Hunting
Fishing
Traps and Snares
Edible
Cooking
Gallery
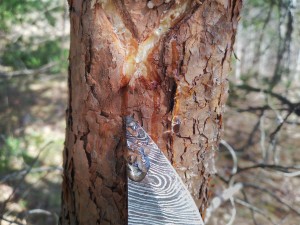
Tapping A Pine Tree For Sap
Tapping A Pine Tree For Sap
Featured
Yehudi Camouflage Lighting
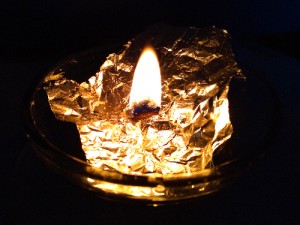
Power Outage Slush Lamp
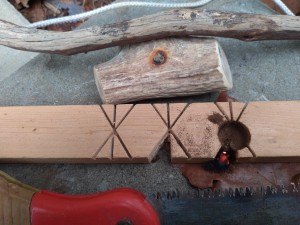
Cross Cut Saw Method For Hearthboard Construction
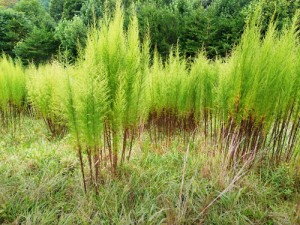
Dog Fennel As Insect Repellent
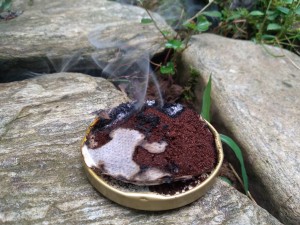
Use Coffee Grounds For A Smudge
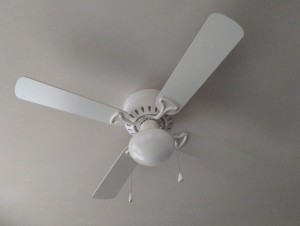
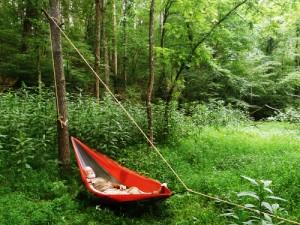
Single Tree Hammock Hang
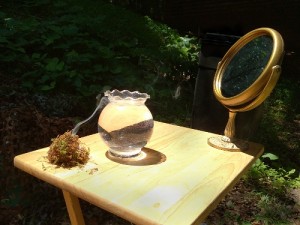
Fun Optical Firecraft with A Fishbowl
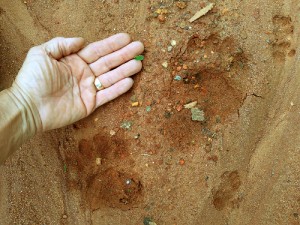
Bear Tracks This Month
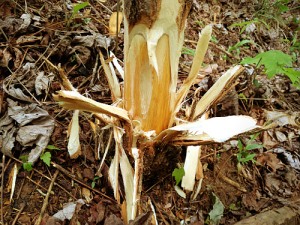
Girdling Trees
Carrying Can Openers
Bushcraft
Tapping A Pine Tree For Sap
Bushcraft
,
Misc.
Yehudi Camouflage Lighting
Bushcraft
,
Firecraft
,
Misc.
Power Outage Slush Lamp
Firecraft
Cross Cut Saw Method For Hearthboard Construction
Bushcraft
,
Misc.
Dog Fennel As Insect Repellent
Bushcraft
,
Misc.
Use Coffee Grounds For A Smudge
Bushcraft
Single Tree Hammock Hang
Firecraft
,
Misc.
Fun Optical Firecraft with A Fishbowl
Bushcraft
,
Misc.
Bear Tracks This Month
Bushcraft
Girdling Trees
Page 1 of 50
1
2
3
4
5
Next ›
Last »
Facebook